
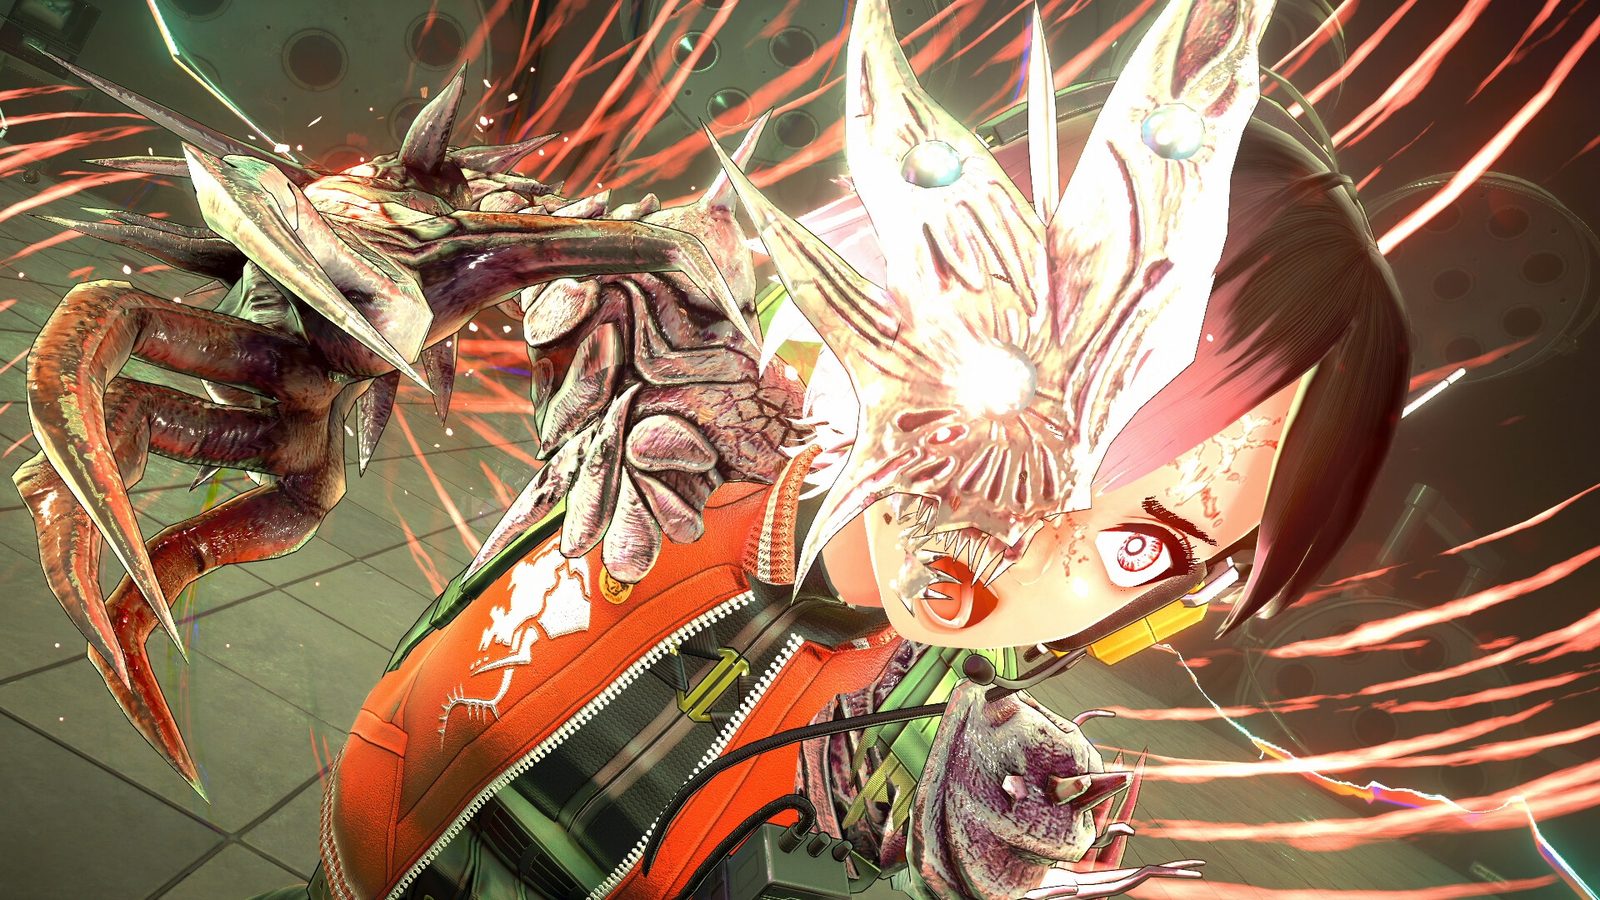
The whole game is one sentence long: Dive, Retrieve, Return. You enter an Anomaly Zone, fight the entities the game calls Anomalies, pick up what you can carry, and get out. Loot only becomes yours once it reaches the base, which makes the decision to leave early the most important one you make in a run.
The loop, step by step
- Prepare at base. Choose weapons, attachments, and what supplies you are willing to spend on this dive. Artifacts recovered from zones carry stat changes and are equipped here.
- Dive into a zone. Zones are built from liminal spaces: an apartment block with inverted gravity, corridors that twist, a shopping street that keeps replicating.
- Retrieve. Ammo is scarce and the inventory is a grid, so every slot spent on loot is a slot you no longer have for supplies.
- Return. Getting back is what banks the run. Anything you were carrying when you went down stays in the zone.
Read that fourth step as the design statement it is. The game is not asking whether you can clear a zone; it is asking whether you can clear it and still walk out with something worth the trip.
Combat: parry instead of dodge
There is no dedicated dodge button. Defence comes from positioning, backing off, and choosing when to commit to a parry — and enemies telegraph attacks before they land, which is what makes the parry a decision rather than a reflex.
Headshots do more damage than body shots, which rewards the slower, more deliberate approach the ammo economy forces on you. Previewers also noted the gunplay has real recoil and sway, so weapons behave differently rather than sharing one hitbox model.
The skill economy runs on gunfire
Reona has twelve Anomalization skills, and they are the progression system rather than a side tree. They cost a resource that is replenished by landing gunfire, which creates a loop: shooting funds abilities, abilities create openings, and the fight keeps moving.
The mutation state is the risk half of that system. At low health Reona partially transforms, which strengthens her skills and lets the energy regenerate over time — a deliberate trade of safety for power. Playing badly does not lock you out of the systems; it changes which ones you can use.
What the demo teaches
The hospital demo is short enough to experiment in. Try a run where you never use a skill, then one where you lean on them, and you will feel the energy economy faster than any explanation.
Inventory is the real difficulty
The grid inventory is what turns this from a shooter into a decision game. Larger items take more space, ammunition takes space, and every optional pickup competes with the supplies that keep you alive.
Two habits help. First, decide what you are diving for before you enter — materials, reports, or a specific weapon part — and treat everything else as filler. Second, do not fill the last slot with loot on the way out; that slot is your margin for error if the exit goes wrong.
When to extract
Extract when the run has already paid for itself, not when the zone is empty. If you are carrying an upgrade you need and your ammo is below half, another room is a gamble on losing the whole trip rather than a chance at a better one.
This is the single habit that separates a good run from a long one. The game's tension comes from the fact that leaving early always feels like a waste and is usually correct.
Reports and side missions
Every Anomaly you put down adds to the 200-plus investigation reports, which describe how that creature behaves. Side missions then fill in the cast around Reona: the operator, the chief, the researcher, the security head.
If a zone keeps killing you, the answer is often in the reports rather than in a better gun. The game is unusually willing to tell you how an enemy works — you just have to stop shooting long enough to read it.
Outfits, stats and fashion
Outfits are split across nine body parts with more than 300 items in total. Stats and appearance are separate switches, so you can keep a build and still change how Reona looks.
That separation is more generous than it sounds: it means the cosmetic hunt never forces a stat downgrade. Spend materials on what you like the look of, then toggle the appearance over your best gear.
Difficulty and controls
Steam lists adjustable difficulty alongside adjustable text size, camera comfort, colour alternatives and subtitle options. If the extraction pressure is too much, drop the difficulty first — the loop does not change, only the punishment for a bad call.
On PC, expect to rebind. The default controls are controller-first: menus use Tab and C rather than Esc, and previewers reported glyphs switching between Xbox and PlayStation layouts in the demo. Playing with a pad is the smoother path.
First hour: what to spend and what to skip
The opening zone teaches the economy faster if you resist upgrading everything. Weapon upgrades compete with outfit materials and skill upgrades for the same recovered resources, and early upgrades are the ones you outgrow quickest.
A workable first-hour rule: upgrade the weapon you actually use, buy one skill you will lean on, and bank the rest. Materials do not expire, and the second zone usually makes your first purchases look cheap.
Skip cosmetics entirely at the start. Appearance is separable from stats, so nothing about the fashion loop blocks your build — it is a reward for later, not a requirement now.
Reading a room before you commit
Every room is a decision about whether the fight is worth the ammo. Check exits before you engage, count how many enemies are visible, and ask whether the loot in the room justifies the rounds you will spend clearing it.
Anomalies telegraph attacks, which means a room full of them can be handled slowly from a doorway. The game does not force you into the open; it forces you to decide when to leave the doorway.
If a room has a chest and three enemies, the chest is usually the reason to fight. If it has three enemies and nothing else, walking past is a legitimate play — the zone does not grade you on kills.
Three mistakes that end runs
Filling the inventory before the exit. The last two slots are your margin for error. Loot them after you have secured the way out, not before.
Treating the mutation state as a bonus. Low health makes your skills stronger and regenerates energy, but it also means the next hit is the last one. It is a comeback mechanic, not a strategy.
Ignoring the reports. Enemy behaviour is documented in-game. Players who die repeatedly to the same Anomaly usually have the answer already unlocked and unread.